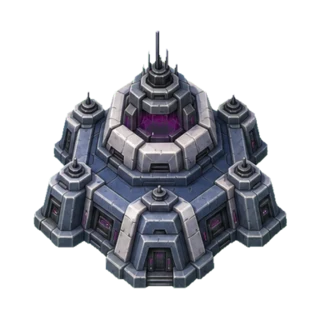
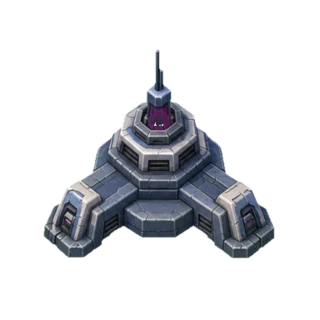
First observe where the fleet waits: during preparation, while leaving the station, or as a reserve at a safe point.
Drone Factory: Preparing another fleet
Drone Factory supports the production of new drones at your stations. Consider it when you repeatedly wait to prepare another attack. You also need suitable targets and safe routes to make use of that production.
Do not confuse the card with a Factory station on the battlefield. The station is a map location; Drone Factory is an Equipment choice in the Production category.
Launch Bay: The flow of a send
Launch Bay supports the pace at which a fleet leaves its station. During a large send, it helps to watch drones already travelling separately from those still waiting at the source.
Deployment pace and flight speed are different needs. If drones arrive late after leaving the station, also examine the route and your Fleet-category choice.
Hangar Expansion: Holding a reserve
Hangar Expansion is aimed at holding a larger ready reserve at stations. Consider it when building a safe rear line or preparing a fleet for a later attack.
That reserve still takes time and planning to form. Accumulating drones becomes useful alongside a connection that lets you move them to the right front.
Choose around the current battlefield
If stations wait full while the front struggles, first check where you are moving the fleet. If you struggle to prepare each attack in time, observe whether the wait happens during production, deployment or travel.
Start by changing only the Production card between similar attempts. Keeping a comparable target and route helps you see what the new choice makes easier.
Common questions
Do the Production cards do the same job?
No. Drone Factory supports production, Launch Bay supports deployment pace and Hangar Expansion supports reserve capacity.
Is a bigger reserve always better?
A fleet is valuable when you can use it on the map. Connections, timing and source safety also affect the choice.